You grab your go-to backpack for a hike. After a few trips, the strap end starts to fray. Threads pull loose at the seam, and it looks worn out fast. That frustration hits beginners hard because everyday rubbing and tugging cause those weak spots.
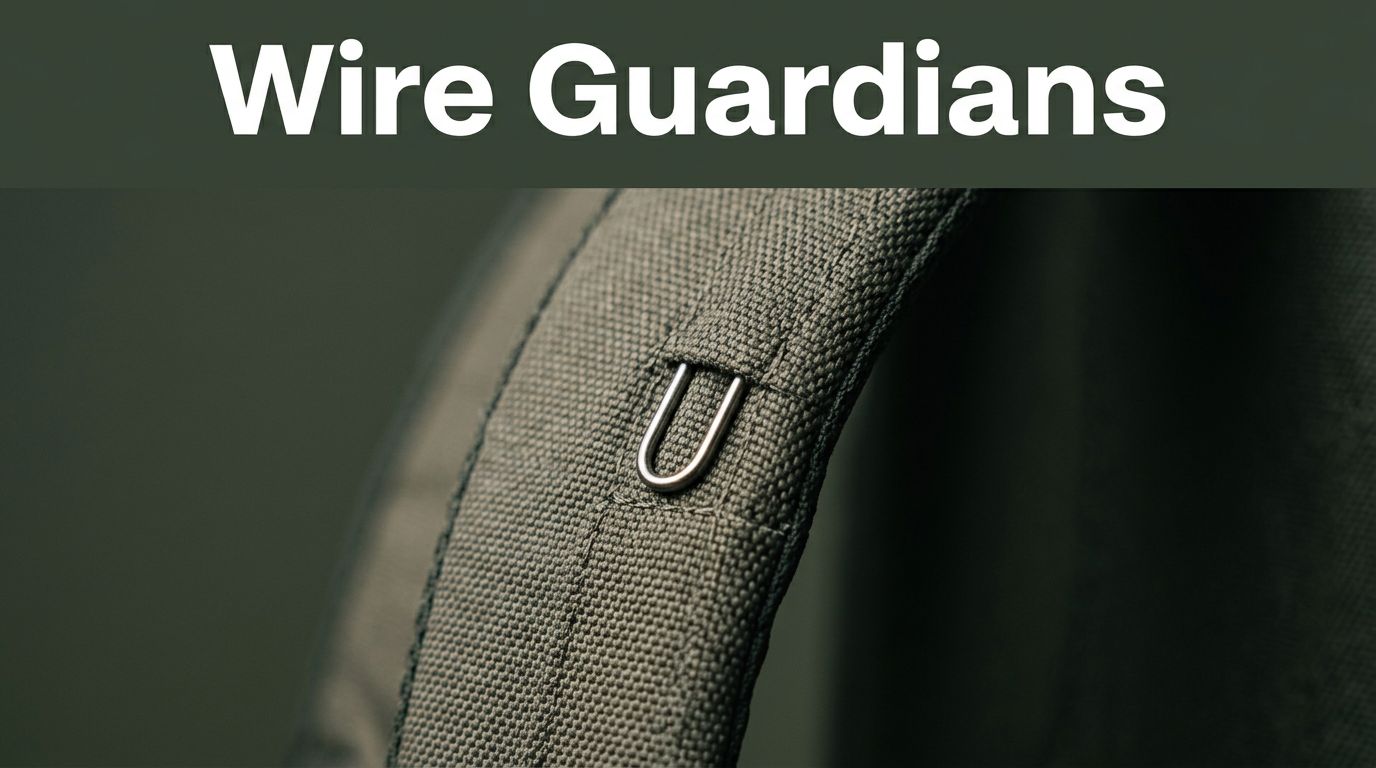
Thread fraying means fibers break at high-stress areas like pocket edges or belt loops. Wire guardians to prevent thread fraying solve this with ease. These small metal U-shapes slip into seams and take the abuse instead of your fabric.
You’ll see simple steps ahead that anyone can follow. No pro skills needed. Let’s start with the basics.
What Are Wire Guardians and Why Do They Work So Well Against Fraying
Wire guardians are tiny, flexible U-shaped wires from rust-proof metal. They measure about fingernail size. You sew them into fabric seams at fray-prone spots.
They act like a shield for threads. The wire bends with pulls but stays strong. Threads behind it avoid snaps and wear. This setup lasts years longer than plain stitching.
Benefits stack up quick. They extend jeans life or save bags from trash. Packs cost under $10, so they’re cheap. Plus, they fit DIY projects without machines. Use them on upholstery or outdoor gear too.
Think of them as armor plates for seams. A backpack strap holds heavy loads better. Belt loops resist keychain tugs. In short, they stop fraying where fabric fights back alone.
Real users report success on denim corners. One pack fixes multiple items. Because they flex, they don’t stiffen clothes.
Different Types of Wire Guardians for Beginner Projects
Beginners benefit from variety. Basic nickel-plated wires suit light use like shirt hems. They cost least but shine on cotton.
Plastic-coated versions add comfort. Skin areas like cuffs stay scratch-free. They cost a bit more, yet prevent irritation.
Heavy-duty stainless handles outdoors. Think tent straps or work pants. These resist weather best.
| Type | Best For | Pros | Cons |
|---|---|---|---|
| Nickel-plated | Light fabrics | Cheap, easy bend | Less rust-proof |
| Plastic-coated | Skin contact | Soft, no scratches | Slightly pricier |
| Stainless steel | Heavy gear | Durable, weather-safe | Stiffer to install |
Start with a variety pack. It lets you match fabrics. For example, coated ones excel on baby clothes to avoid pokes.
Tools and Supplies You Need to Get Started Right Now
You don’t need much to begin. Grab a wire guardians pack first. Then add a heavy-duty needle and thick thread. These pierce denim easy.
Pliers shape the wire precise. Scissors cut clean. A thimble protects fingers from pricks. Use a marker or chalk to mark spots.
Fabric glue works for no-sew options. Gloves keep hands safe from sharp edges. All this runs under $20 total.
No sewing machine required. Hand tools do the job. Buy online or at craft stores for speed.
Here’s a quick shopping checklist:
- Wire guardians (50-pack)
- Upholstery needle/thread
- Needle-nose pliers
- Sharp fabric scissors
- Metal thimble
- Fabric chalk/marker
Safety matters. Wear gloves because wires can slip. Good lighting helps too.
Budget-Friendly Places to Source Your Wire Guardians
Amazon offers bulk packs fast. Search wire guardians sewing supplies for options under $7. Prime ships same day often.
Etsy sellers make custom sizes. Great for odd fabrics. Prices hover at $10 for specialty.
Joann Fabrics or Walmart stock them in-store. Check aisles near notions. Both run sales weekly.
Sites like Wawak sewing supplies sell pro packs cheap. Bulk drops to $5 per 50.
Skip no-name brands. They rust fast. Stick to reviewed picks for reliability.
Close-up of nickel, coated, and stainless types ready for use.
Simple Step-by-Step Instructions to Install Wire Guardians Like a Pro
Follow these steps on denim or canvas. It takes 10-15 minutes per spot. Work on a flat table for safety.
- Clean the fray spot. Trim loose threads with scissors. Mark a line 1/4 inch from the edge using chalk.
- Bend the wire slight if needed. Use pliers for a gentle curve. Slide legs into the seam allowance first.
- Stitch tight over ends. Make 4-6 passes with thick thread. Backstitch holds best. Or dot fabric glue for no-sew.
- Tug the area firm. Check for shifts. Trim extra thread. Press with iron for flat seams.
- Repeat on other spots. Space them 1 inch apart for coverage.
- Let glue dry 24 hours if used. Test full pulls after.
Practice boosts speed. Results beat replacements every time.
Step 1: Prep Your Fraying Spot and Gather Everything
Dirt hides issues. Wipe the area first. Loose threads weaken holds, so snip them close.
Chalk fades fast. Mark both sides of the seam. Bright light spots mistakes early. Gather tools nearby to stay smooth.
Step 2: Insert and Position the Wire Guardian Perfectly
Open the seam slight. Push wire parallel to stress line. Legs go halfway in first.
Pliers nudge it snug. It should hug without bulging. Fabric stays flat outside.
Step 3: Stitch or Glue Securely for Lasting Strength
Thread double for power. Needle through wire holes if present. Pull snug each pass.
Glue dots at ends bond quick. Press 30 seconds. Tug test right away for hold.
Step 4: Check Your Work and Trim for a Clean Finish
Stretch fabric wide. No pops mean success. Snip tails under 1/4 inch.
Iron low heat sets stitches. Handle multiples in rows for belts or straps.
Step-by-step view of wire sliding into a pocket corner.
Avoid These Beginner Pitfalls and Unlock Pro-Level Results
Pick wrong size and it pokes out. Measure stress area first. Too big wastes time.
Loose stitches shift it loose. Pull test after each pass. Practice on scraps builds skill.
Thin fabrics tear easy. Use coated wires there. Match thread color hides work.
Skip glue on no-sew and it flops. Always secure ends double. Seam tape adds backup hold.
What if fabric frays anyway? Check tension. Reinstall tighter next time.
These fixes save money. One good job outlasts three patches.
Quick Fixes for When Things Go Wrong
Wire too big? Snip ends shorter with pliers. Reinsert smooth.
Stitching loose? Add passes over. Tug till firm.
Rust shows up? Switch coated next. Store dry always.
Prevention wins. Test scraps first. You’ll nail it fast.
Wire guardians transform worn gear. They stop fraying right away and last ages. Your jeans or bag turns useful again.
Grab supplies this weekend. Fix one item and see. Share your before-after pics in comments.
For more, check seam tape tips. This beginner’s guide to using wire guardians to prevent thread fraying sets you up strong.