Picture this. You grab your jeweler’s saw, line up a perfect cut on a silver sheet, and push. The metal slips. Your line wobbles. Frustration builds as you start over with wasted material and shaky hands.
New jewelers face this issue all the time. A bench pin solves it fast. This simple wedge-shaped tool clamps to your workbench. It holds metal steady in its V-groove. You saw, file, and shape with confidence.
Bench pins bring rock-solid support. They cut waste and speed up work. Safety improves too because slips drop away. This guide walks you through everything. You’ll learn to pick the right one, set it up, use basic techniques, and avoid pitfalls. Let’s get your bench ready for stable jewelry making.
Pick the Perfect Bench Pin to Match Your Needs
Start with the basics. Bench pins come in wood, metal, or acrylic. Beginners do best with wood. It’s cheap and grips metal well. You spend under $20 for a good one.
Size matters for your projects. A 4-inch pin works for rings and small findings. Larger 8-inch models handle bracelets or chains. Pick based on your typical work. Solo crafters like smaller sizes. Group classes need bigger ones.
Look for key features. Adjustable clamps fit most benches. Multiple slots add versatility. Replaceable inserts save money long-term. Check the grooves. They must feel smooth to guide your tools right.
Quality shows in sturdy build. Read reviews for durability reports. Match the pin to your bench thickness. Most clamps handle 1 to 2 inches.
Here’s a quick checklist before you buy:
- Budget: Under $20 for starters.
- Clamp type: C-clamp or vise compatible.
- Reviews: High marks on hold strength.
- Groove: Clean V-shape, no splinters.
For solid options, check out wooden bench pins at Rio Grande. They suit most beginners.
Wood vs. Metal: Which Material Wins for Newbies
Wood wins for new hands. It grips files softly. Blades stay sharp longer. Cost stays low at $10 to $15. You sand it smooth when needed. Drawback: It wears faster under heavy use.
Metal lasts years. It resists heat from friction. Price hits $30 plus. Beginners skip it because wood does the job fine.
Eco options exist too. Recycled wood pins cut waste.
| Material | Pros | Cons | Best For |
|---|---|---|---|
| Wood | Cheap, soft grip, easy to shape | Wears out, needs sanding | Beginners, light use |
| Metal | Durable, heat-proof | Costly, can dull tools | Pros, heavy work |
Wood fits most starters. It builds skills without big spend.
Size and Slot Options That Make a Difference
Small pins shine for tiny jobs. Think rings or earrings. They save bench space.
Larger pins tackle wide sheets. Bracelets fit easy.
Slots vary. A single V holds wire straight. U-grooves curve prongs. Pin vices clamp odd shapes.
Test with scrap metal first. An all-rounder 6-inch pin covers most needs. It balances space and power.
Set Up Your Bench Pin for Unwavering Stability
Good setup makes all the difference. You need a C-clamp or vise, sandpaper, and your pin. Position it right for no shakes.
Clamp to the bench edge. Face the V-groove outward. Set height at elbow level. Right-handers put it on the left side. Lefties reverse it.
Tighten firm but even. Test by pushing hard. No wobble means success.
Troubleshoot fast. Loose clamps need shims like wood scraps. Avoid overhangs. They tip easy.
Safety first. Secure tools nearby. Wear eye protection always.
This setup lets you work bold. Slips vanish. Confidence grows.

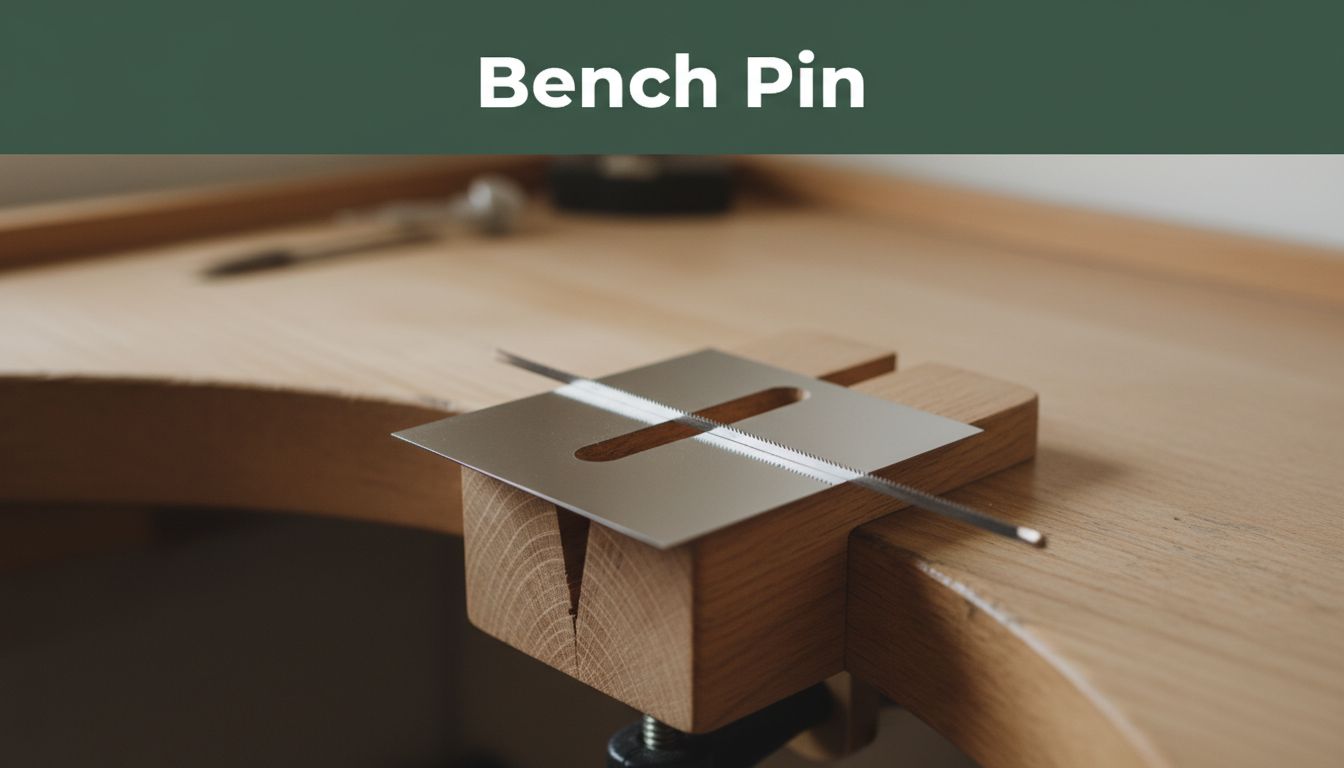
Section image: Firm bench pin clamp in action.
Step-by-Step Clamping Guide
Follow these steps for a shake-free hold.
- Place the pin on your bench edge. Line up the clamp hole.
- Insert the C-clamp through the pin’s hole. Pad jaws with cloth.
- Tighten gradually. Turn clockwise in small bursts.
- Check level with a straight edge. Adjust if off.
- Push and shake the pin hard. It stays put.
- Fine-tune the angle. Aim 10 degrees up.
Done right, it holds like glue.
Best Bench Positions for Comfort and Control
Right-handers clamp on the left. Your saw arm swings free.
Lefties go right side. Same logic applies.
Set height mid-chest. Bend less, strain drops.
Angle the slot up 10 to 20 degrees. Hands flow natural.
Test your spot. Comfort speeds work.
For more setup ideas, see OttoFrei’s bench pin guide.
Master Simple Techniques with Your Bench Pin
Now use it. Bench pins shine in sawing, filing, and shaping. Secure metal in the V first.
Start with sawing. Clamp sheet vertical. Light strokes cut clean.
Filing next. Rest flat on the pin face. Push only, lift back.
Shaping curves uses grooves. Practice builds speed.
Try scraps first. Over-tighten ruins metal. Relax shoulders always.
These moves cut waste. Progress flies.

Section image: Steady sawing technique.
Sawing Straight Lines Without a Wobble
Secure wire or sheet upright in the V. Hold saw vertical.
Use short, light strokes. Let teeth do work. Relax grip.
Shoulders down. Breathe steady. Lines stay true.
Practice 10 cuts daily. Skill jumps quick.
Filing and Finishing for Smooth Edges
Place file flat against pin face. Secure piece firm.
Push forward only. Lift on return. Rotate often.
Start coarse grit. Finish fine. Edges gleam.
Progress grits step-by-step. Results impress.
Bonus: Shaping Curves and Prongs Easily
Bend wire in the groove. Pin face flats prongs.
Quick project: Earwires. Cut 2-inch silver wire. Curve one end. Taper other.
Done in minutes. Wear your first make.
Dodge Beginner Mistakes and Keep Your Pin Lasting
Errors sneak in. Weak clamps cause slips. Fix with tighter hold.
Worn grooves dull cuts. Sand monthly.
Wrong angle tires arms. Readjust often.
Overload big pieces. Break into small.
Test every setup. Shake check rules.
Maintenance keeps it new. Oil clamps. Store dry.
DIY pins work, but buy first for true hold.
Upgrades come later. Custom shapes fit pros.
For tool lists, visit Jewelry Making Journal’s bench essentials.
Fixes for the Top 5 Stability Killers
- Loose clamp: Tighten or add shim.
- Dull grooves: Sand smooth.
- Bad angle: Readjust up 10 degrees.
- Overload: Use smaller stock.
- No test: Shake hard before cuts.
Habits build pros.
Bench pins transform your work. Pick wood for starters. Clamp firm on the left or right. Saw light, file flat, shape in grooves.
Grab one today. Cut your first stable jump ring. Share results in comments. What project calls next? Stable making awaits.