You’ve spent hours picking out the perfect beads for your necklace. Then one slips off the wire because the hole doesn’t match. Frustrations like that kill the fun in jewelry making.
A digital caliper fixes this fast. It measures down to 0.01 mm so beads fit snug and wires stay secure. Hobbyists and pros save time and cash this way.
This guide covers caliper basics, bead measuring steps, wire sizing tricks, plus tips to avoid mistakes. You’ll get pro results on your next project.
Unlock the Power of Your Digital Caliper: Key Features and Parts
Digital calipers beat rulers for jewelry work. Rulers guess at tiny bead holes or thin wires. Calipers show exact digital readouts in millimeters or inches.
They zero quickly with one button. You switch units easily too. Most run on small batteries and cost just $15 or more.
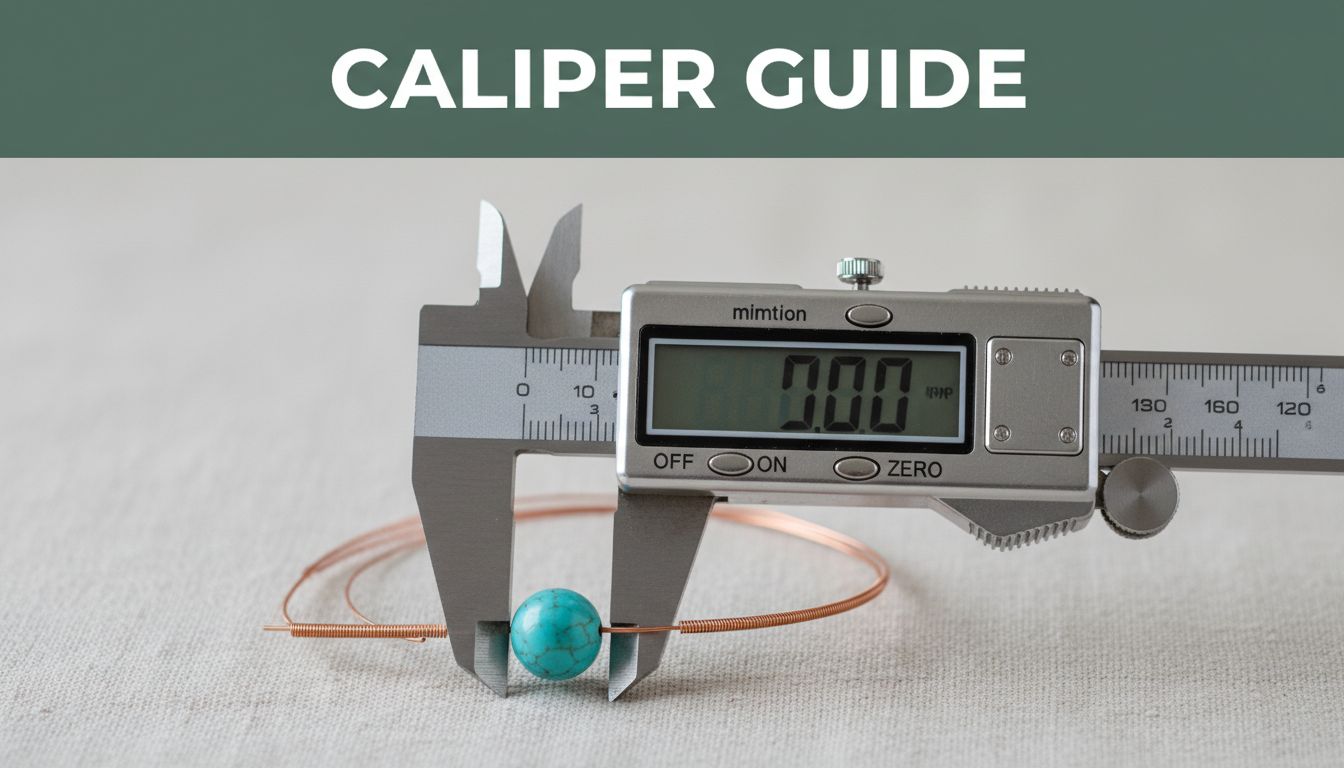
Key parts include outer jaws for outside sizes. Inner jaws fit into holes. The depth rod checks thickness.
You slide the main bar to move the jaws. The LCD screen displays numbers clearly. Buttons handle on/off, zeroing, and modes.
Common models span 6 inches. They handle most bead and wire jobs.
Types of Digital Calipers for Jewelry Work
Stainless steel calipers last longer in busy workshops. Plastic ones work fine for light home use, though.
Pick IP-rated models if your bench gets wet from glue or polish. They resist water splashes.
Vernier-style digital ones suit heavy daily tasks. Aim for a 0-150 mm range. It covers typical beads and wires.
You find solid options at hardware stores or online craft sites.
Setting Up Your Caliper for First Use
Turn it on with the power button. Close the jaws fully. Press zero to set the display at 0.00.
Switch between mm and inches using the mode button. Check the battery icon. Swap if low.
Wipe jaws clean with a soft cloth first. Now you’re ready to measure.
Measure Bead Sizes Like a Pro: Diameters, Holes, and Thickness
Precise bead sizes stop gaps in strands or loose fits. You string smoothly every time. This works for round, faceted, or odd shapes.
Use gentle pressure always. It prevents scratches on delicate stones or glass.
Three main checks matter: outer diameter, hole size, and thickness. Practice on scrap beads first.
Sizing the Outer Diameter of Any Bead
Zero the caliper with outer jaws closed. Open them wide.
Place the bead between the jaws. Slide closed until snug. Do not crush it.
Read the LCD value. For irregular beads, measure three spots. Average the numbers.
Seed beads often hit 4 mm to 12 mm. Focal beads go 20 mm or bigger.
Checking Bead Hole Sizes for Smooth Stringing
Zero with inner jaws closed. Open and insert into the bead hole.
Close jaws until they touch sides snugly. Read the display.
Thin holes under 1 mm need extra care. Pointed jaw tips help if your model has them.
A 0.8 mm hole fits 0.6 mm to 0.7 mm wire best. Test fits fix sticky issues.
Gauging Bead Thickness or Height Quickly
Zero the depth rod on a flat surface. Set the bead there too.
Lower the rod to touch the bead top. Read the depth on screen.
For short beads, use outer jaws instead. Hold flat sides between them.
This helps stack designs without wobbles.

Get Wire Measurements Spot-On for Secure Jewelry Designs
Wire gauges confuse many. Lower numbers mean thicker wire. Calipers give exact mm sizes, better than charts.
They handle round, square, or half-round types for wraps and coils. Match wire to bead holes perfectly.
Measure straight sections only. Avoid bends that skew results. Keep jaws nick-free for safety.
Measuring Round Wire Diameter Effortlessly
Zero outer jaws first. Straighten any curve if needed.
Grip the wire midway between jaws. Close until snug.
Read mm on the screen. Convert to AWG if you want: 1 mm equals about 18 gauge.
Check two or three spots. Consistency matters.
Handling Square or Shaped Wires
For squares, measure each side separately. Note the largest dimension.
Half-round wires need thickness and width checks. Use outer jaws for both.
Thin wires below 0.5 mm slip easily. Hold steady. A magnifier helps.

Pro Tips, Common Mistakes, and Keeping Your Caliper Ready
Use the thumb wheel for fine control. It beats sliding by hand.
Store in a dry spot. Swap batteries yearly even if they seem fine.
Avoid drops and over-tightening. Dirty jaws cause wrong reads.
Common errors include parallax: view the screen straight on. Always zero before use. Skip forcing on weird shapes.
Wipe after every session. Calibrate once a year against a known size.
Troubleshooting Weird Readings
Low battery makes numbers jump. Replace it first.
Dirt on jaws fakes sizes. Clean gently.
Loose mechanisms need tightening. Check the slider lock.
Most fixes take seconds. Test after each tweak.
Experiment now. Measure your bead stash and wire rolls.

Mastering a digital caliper means flawless jewelry fits and less waste. You string beads smoothly and wrap wires tight.
Grab yours and measure a project today. Try those tricky focal beads next.
Share your first measurements in the comments. What surprised you most?