You grab your favorite elastic cord to make a quick bracelet. It looks perfect until you tug it on. The knot slips right open, and pieces scatter across the floor.
Surgeon’s knots fix that problem fast. They grip slick elastic cord tight and hold under pull. Beginners love them because they tie easy and stay secure.
This guide shows you why they work so well. You’ll get supplies lists, step-by-step ties, fixes for slip-ups, and project ideas. Grab some cord now. Follow along for knots that last.
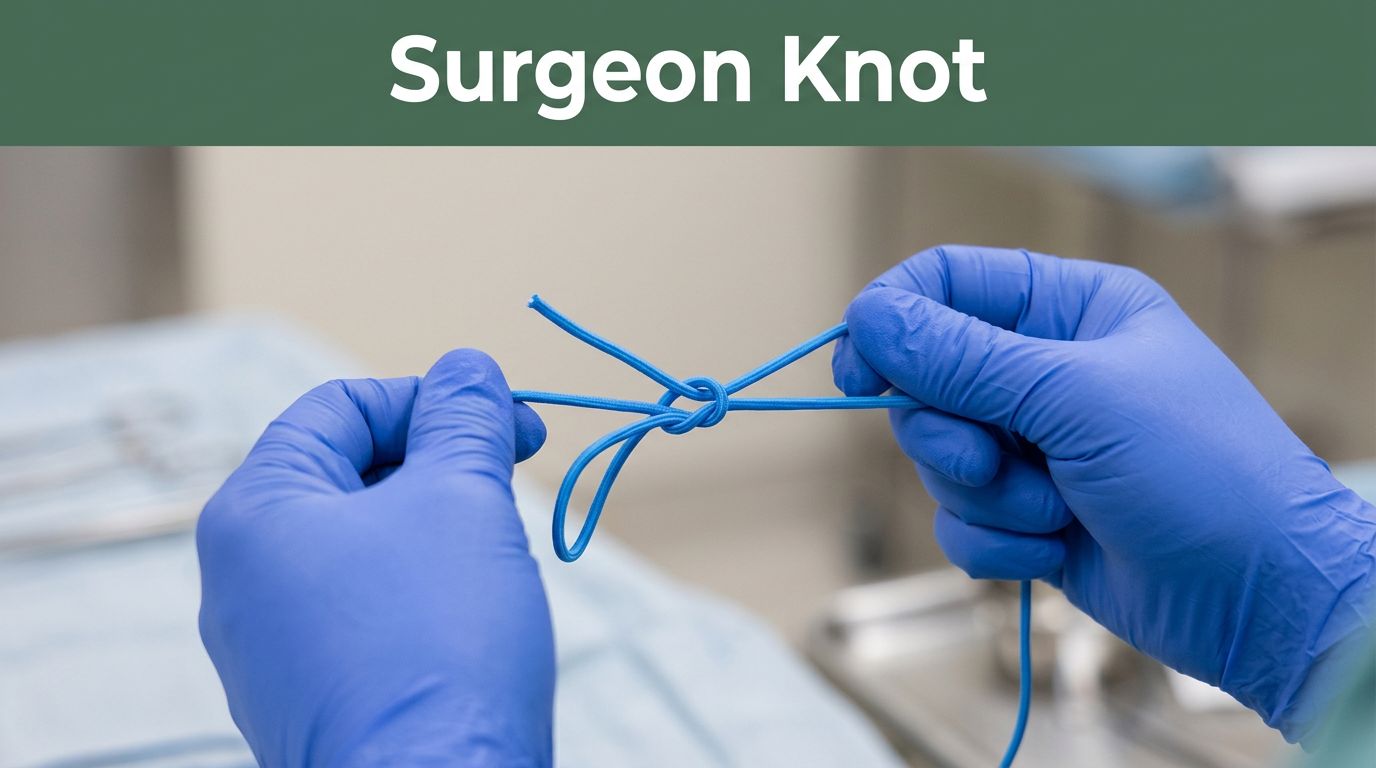
Why the Surgeon’s Knot Shines with Stretchy Elastic Cord
Surgeons tie this knot first for stitches that won’t slip. Crafters picked it up because it works great on stretchy stuff. Elastic cord stretches and slides easy. A surgeon’s knot uses double wraps for extra bite. It locks in place even when you pull hard.
Basic overhand knots fail on elastic. They loosen as the cord bounces back. Square knots twist wrong sometimes. Granny knots jam tight but slip under load. The surgeon’s knot beats them all. It stays snug without fuss.
Think of it like a firm handshake. Both sides grip equal. You adjust tension easy before it sets. That’s why folks use it for jewelry or gear repairs.
Key Advantages Over Other Beginner Knots
Double loops create friction that stops slides. Elastic cord needs that grip. Single knots let stretch win.
You tie it with cords of different lengths. No need to match them perfect. Just overlap and go.
Later, you untie it without a fight. Pull one end, and it releases clean. No sawing with teeth.
It keeps a slim profile too. No big lumps ruin your look. Test it yourself. Tie one, yank hard, and watch it hold.
Best Scenarios for Using Surgeon’s Knots
Make bracelets by joining cord ends. The knot hides inside beads easy.
Secure cargo on a bike rack. It holds tarps or straps tight in wind.
Craft fitness loops for resistance bands. They flex but stay closed.
Repair a dog leash fast. The knot takes tugs all day.
Skip it on thick ropes over half-inch. Use something bulkier there. For hobbies, it’s your go-to.
Gather Your Supplies: What You Need to Start Tying
Start simple. You need elastic cord, about 1/8-inch thick works best for crafts. Get a few colors to practice.
Sharp scissors cut clean. Dull ones fray ends and weaken knots. Nail clippers do in a pinch.
Hold ends with tape or a clamp if they slip. Clear packing tape grips good.
Pick a flat table for practice. Good light helps you see loops clear.
Buy cord at craft shops or dollar stores. Online packs cost little. No need for pro tools. You’re set to tie now.
Work safe. Keep fingers free from pinches. Cut away from skin always.
Step-by-Step: How to Tie a Rock-Solid Surgeon’s Knot
Practice beats theory. Tie this five times before your project. Hold firm because elastic fights back. Pull even after each step. Let’s break it down.
Step 1: Overlap and Position Your Cord Ends
Take two cord pieces. Lay them parallel with four-inch overlap.
Point working ends the same way. Form a loose X in the middle. Pinch tight at the cross.
This setup keeps everything stable. No twists yet.
Step 2: Create the First Overhand Loop
Grab both working ends together. Cross them over the standing parts.
Duck them under to make a small loop. Keep it dime-sized. Big loops slip later.
Pull a bit to shape it. Don’t tighten full.
Step 3: Thread Both Ends Through the Loop
Feed both working ends into that loop. Push them through from front.
Grab the ends. Pull gentle to snug the first wrap. It cinches close now.
Standing parts stay straight. Check for evenness.
Step 4: Tie the Second Overhand for Extra Grip
Repeat exactly. Cross working ends over standing parts again.
Form another small loop. Thread ends through it.
This double layer seals the deal. Pull snug but save full tighten for last.
Step 5: Pull Tight and Check the Hold
Hold one standing end and one working end in each hand. Pull opposite directions even.
The knot shrinks and locks. Wiggle it hard. No give means success.
If it shifts, loosen and retry steps.
Step 6: Trim Tails and Inspect Your Knot
Snip tails to a quarter-inch long. Shorter risks unravel.
Tug strong one more time. Roll it between fingers. Solid feels right.
Your first knot done. High five.
Dodge These Common Slip-Ups and Level Up Your Knots
Beginners rush and pay for it. You might stretch the cord too much mid-tie. It fights back loose.
Uneven pulls twist the knot. One side takes all load.
Over-tighten early, and loops jam wrong. Fix comes next.
Practice on scraps first. Builds muscle memory fast.
Add a half-hitch at end for more hold if needed. Simple extra wrap.
Fixing Loose Loops from Rushed Tying
Hurry makes loops too big. They can’t grip slick cord.
Slow down. Aim for coin-sized each time.
Redo if floppy. Patience pays off quick.
Overcoming Slippery Cord Challenges
Elastic slides like wet soap. Dust it with chalk or powder for bite.
Tie short sections on long cords. Master one, then add.
Gloves help too. Cheap ones add traction.
Ensuring Even Tension Every Time
Pull left, then right. Alternate until snug.
Eye the knot for straight lines. Crooked means redo.
Measure tails equal. Symmetry locks it best.
Quick Projects to Practice and Show Off Your Knots
Put skills to work. Start small.
Elastic keychain: Cut 12-inch cord. Tie surgeon’s knot to loop. Add key ring. Five minutes done.
Phone wrist strap: Double cord for strength. Knot ends secure. Thread bead accents. Ten minutes max.
Plant hanger toggle: Join cords for adjustable loop. Hangs pots steady. Fifteen minutes.
Bungee cord fix: Repair old cords fast. Knot holds hooks tight.
These build speed. Scale to necklaces next. Share your makes online.
Master surgeon’s knots changed your elastic projects. They grip sure and tie fast. No more slips ruin the fun.
Tie one today. Snap a photo and drop it in comments. What project calls first? You’ll crush it now.